GSoC Week 14: Opening New Doors
So this is my final blog entry for GSoC (Google Summer of Code) (by now you really should know what that stands for but I’m a stickler for detail), wow it really has been around 4 months. Well I can say it has been a definite pleasure and don’t worry I don’t plan on stopping making blog entries because I still do plan on contributing to CHAOSS. I even have my new assignment to work on, I will try to keep doing writing on what I’ve been doing but it may not be every week. Also I can’t forget to thank my mentor Sean he really was just very helpful and understanding, I do hope he will be able to mentor other students for GSoC because they will learn a lot from this experience.
Now for this week’s blog entry we actually will be learning about how to go about running my code. There is an order as to how you go about running my code so let’s see if we can get this stuff running. I will be doing this guide as if I was going to run it which is on Ubuntu 16.04. You will most likely have to install some other libraries and I also had access to a ready made Database. There are other guides for OS X and Fedora but on Windows it may be a bit challenging (so I suggest just joining the fun side and join Tux aka get a Linux OS)
Installation:
I will give the link as to where the instructions are to setup augur on your computer. First you install the dependencies. Please note
#### <a name="Ubuntu">Ubuntu Dependency Installation Instructions</a>

# Install NodeSource
curl -sL https://deb.nodesource.com/setup_8.x | sudo -E bash -

# Install NodeJS
sudo apt-get install -y nodejs

# Install MariaDB (if needed on the same machine for the GHTorrent/msr14 dataset)
sudo apt-get install -y mariadb-server

# Install Anaconda
curl https://repo.anaconda.com/archive/Anaconda3-5.1.0-Linux-x86_64.sh > Anaconda.sh
chmod +x Anaconda.sh

# You must agree to Anaconda's license terms to proceed
./Anaconda.sh -b
rm Anaconda.sh

# [Install Augur](#Install)
Then you go about actually installing Augur onto your computer.
(Note we will be doing checkout on ‘pipermail’ not ‘dev’)
## <a name="Install">Augur Installation Instructions</a>

Clone the repo and install the libraries and tools needed by Augur

git clone https://github.com/OSSHealth/augur/

## Assume you are in the root from which you cloned augur

cd augur  ## To get into the project directory root

cd augur ## To get into the augur directory under the augur root, where the make files live

# If you are going to do active development, please use the dev branch
git checkout pipermail


# Install the Python and Node tools and libraries needed
make install-dev-admin # some libraries require a root install.

# Ignore node-pre-gyp install errors asking for cairo library or install cairo library. Augur works either way.
You will then need to generate the augur.cfg file.
**Augur runs in an Anaconda environment. To get started, you need to run 'augur' to create the augur.cfg file**

conda activate augur
augur

Edit the augur.cfg file with the the required information for database and API connections.

For all the API's and visualiazations to work, you will need to include:

- A [GitHub](https://developer.github.com/v3/) API Key,
- A [PublicWWW](https://publicwww.com/) API Key, and
- A [LibrariesIO](https://libraries.io/) API Key.

You **CAN** get off the ground without those API keys though.

**You're ready to rock! To start both the frontend and backend, run:**

 make dev
You will also need to generate augur.cfg.json to run most of my code
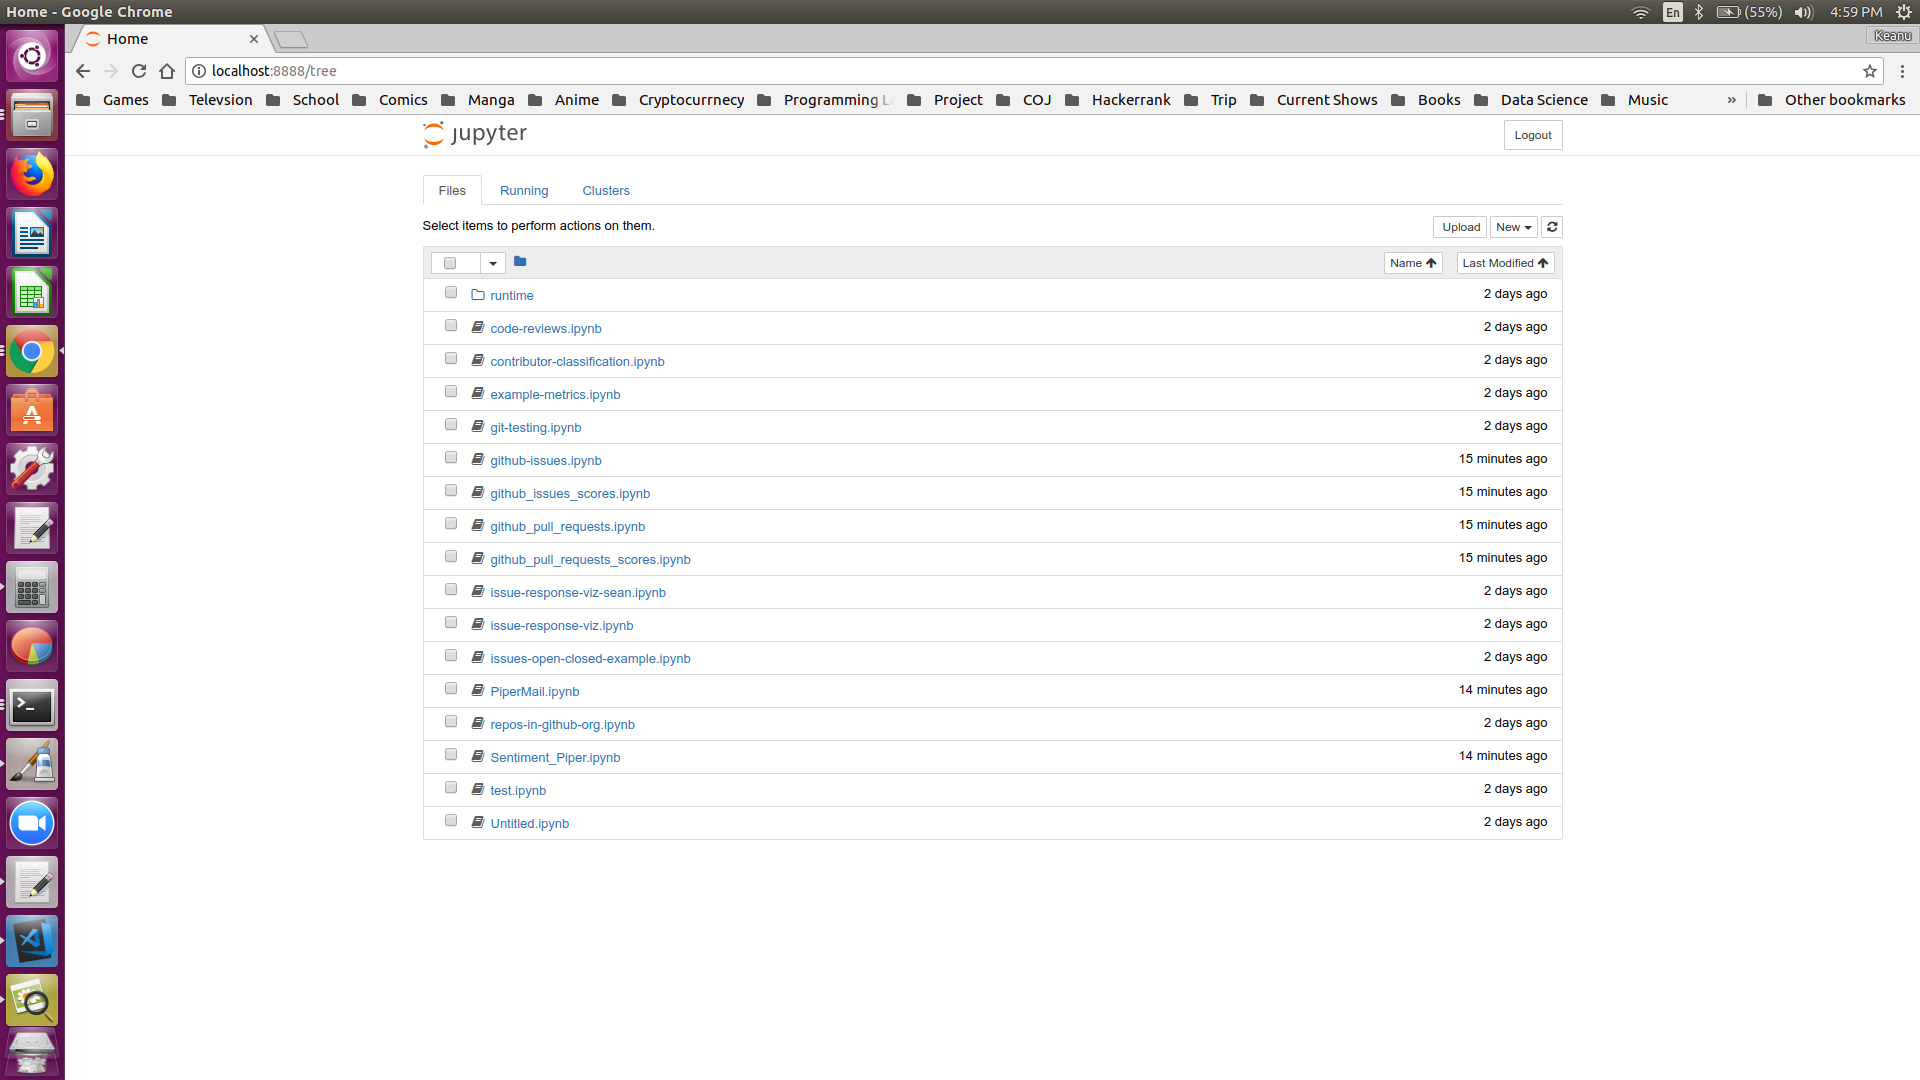
make to-jsonNext we go about running jupyter notebooks
make jupyterIt will then look like the picture below might need to open image in new tab and zoom to see it better
Remember you are downloading the git repository from augur and switching to the branch pipermail, as was detailed in the instructions.
Now the notes that I worked on were:
- piper_reader -
Week 4,
Week 5,
Week 6,
Week 13
- PiperMail - Week 4,
Week 5,
Week 6,
Week 7,
Week 8,
Week 9,
Week 13
- Sentiment_Piper -
Week 6,
Week 7,
Week 8,
Week 9,
Week 13
- github-issues
Week 9,
Week 10,
Week 11,
Week 12,
Week 13
- github_issues_scores
Week 10,
Week 11,
Week 13
- github_pull_requests
Week 12,
Week 13
- github_pull_requests_scores
Week 12,
Week 13
So there are three different data sources that you can download and analyse. For each of them you will need to have ‘Database’ filled out (e.g. ‘host’, ‘name’ etc.)
Mailing Lists:
The order in which you run this would be: PiperMail -> Sentiment Piper. PiperMail will call upon piper_reader for you. What you will need is to have in augur.config.json. The first time you run it it will output a file mailing_list.csv which will be in a folder runtime in augur (e.g. augur/runtime/mailing_list.csv) which is where you will write where the mailing lists you want downloaded.
So PiperMail is supposed to look as seen in the link when you run it (I removed some comments so it might be shorter)
And then we run Sentiment Piper.
Github Issues:
For the github issues you will need to run it in the order github-issues -> github_issues_score. The first time you run it will output a file git_repos.csv which will be in a folder runtine in augur (e.g. augur/runtime/git_repos.csv) which is where you will write where the github repositories you want to download.
We then run github-issues.
After we run github_issues_scores
Github Pull Requests:
For the github pull requests you will need to run it in the order github_pull_requests -> github_pull_request_scores. The first time you run it will output a file git_repos.csv which will be in a folder runtine in augur (e.g. augur/runtime/git_repos.csv) which is where you will write where the github repositories you want to download. It uses the same file as github-issues
We can then run github_pull_requests is supposed to be seen as in the link
Finally we can run github_pull_request_scores
Remember you don’t need to run ‘Mailing Lists’ and then run ‘Github Issues’ or ‘Github Pull Requests’ they are all seperate from each other (well except they use the same database and information for the database).
Resources:
List of my commit to the branch pipermail: commits
GSoC ideas (Specifically Ideas 2 & 3): Ideas
My proposal: My proposal
My branch on augur
Files Used:
Python File - piper_reader 1
Jupyter Notebook - PiperMail 13
Jupyter Notebook - Sentiment_Piper 9
Jupyter Notebook - github-issues 8
Jupyter Notebook - github_issues_scores 8
Jupyter Notebook - github_pull_requests 4
Jupyter Notebook - github_pull_requests_scores 3